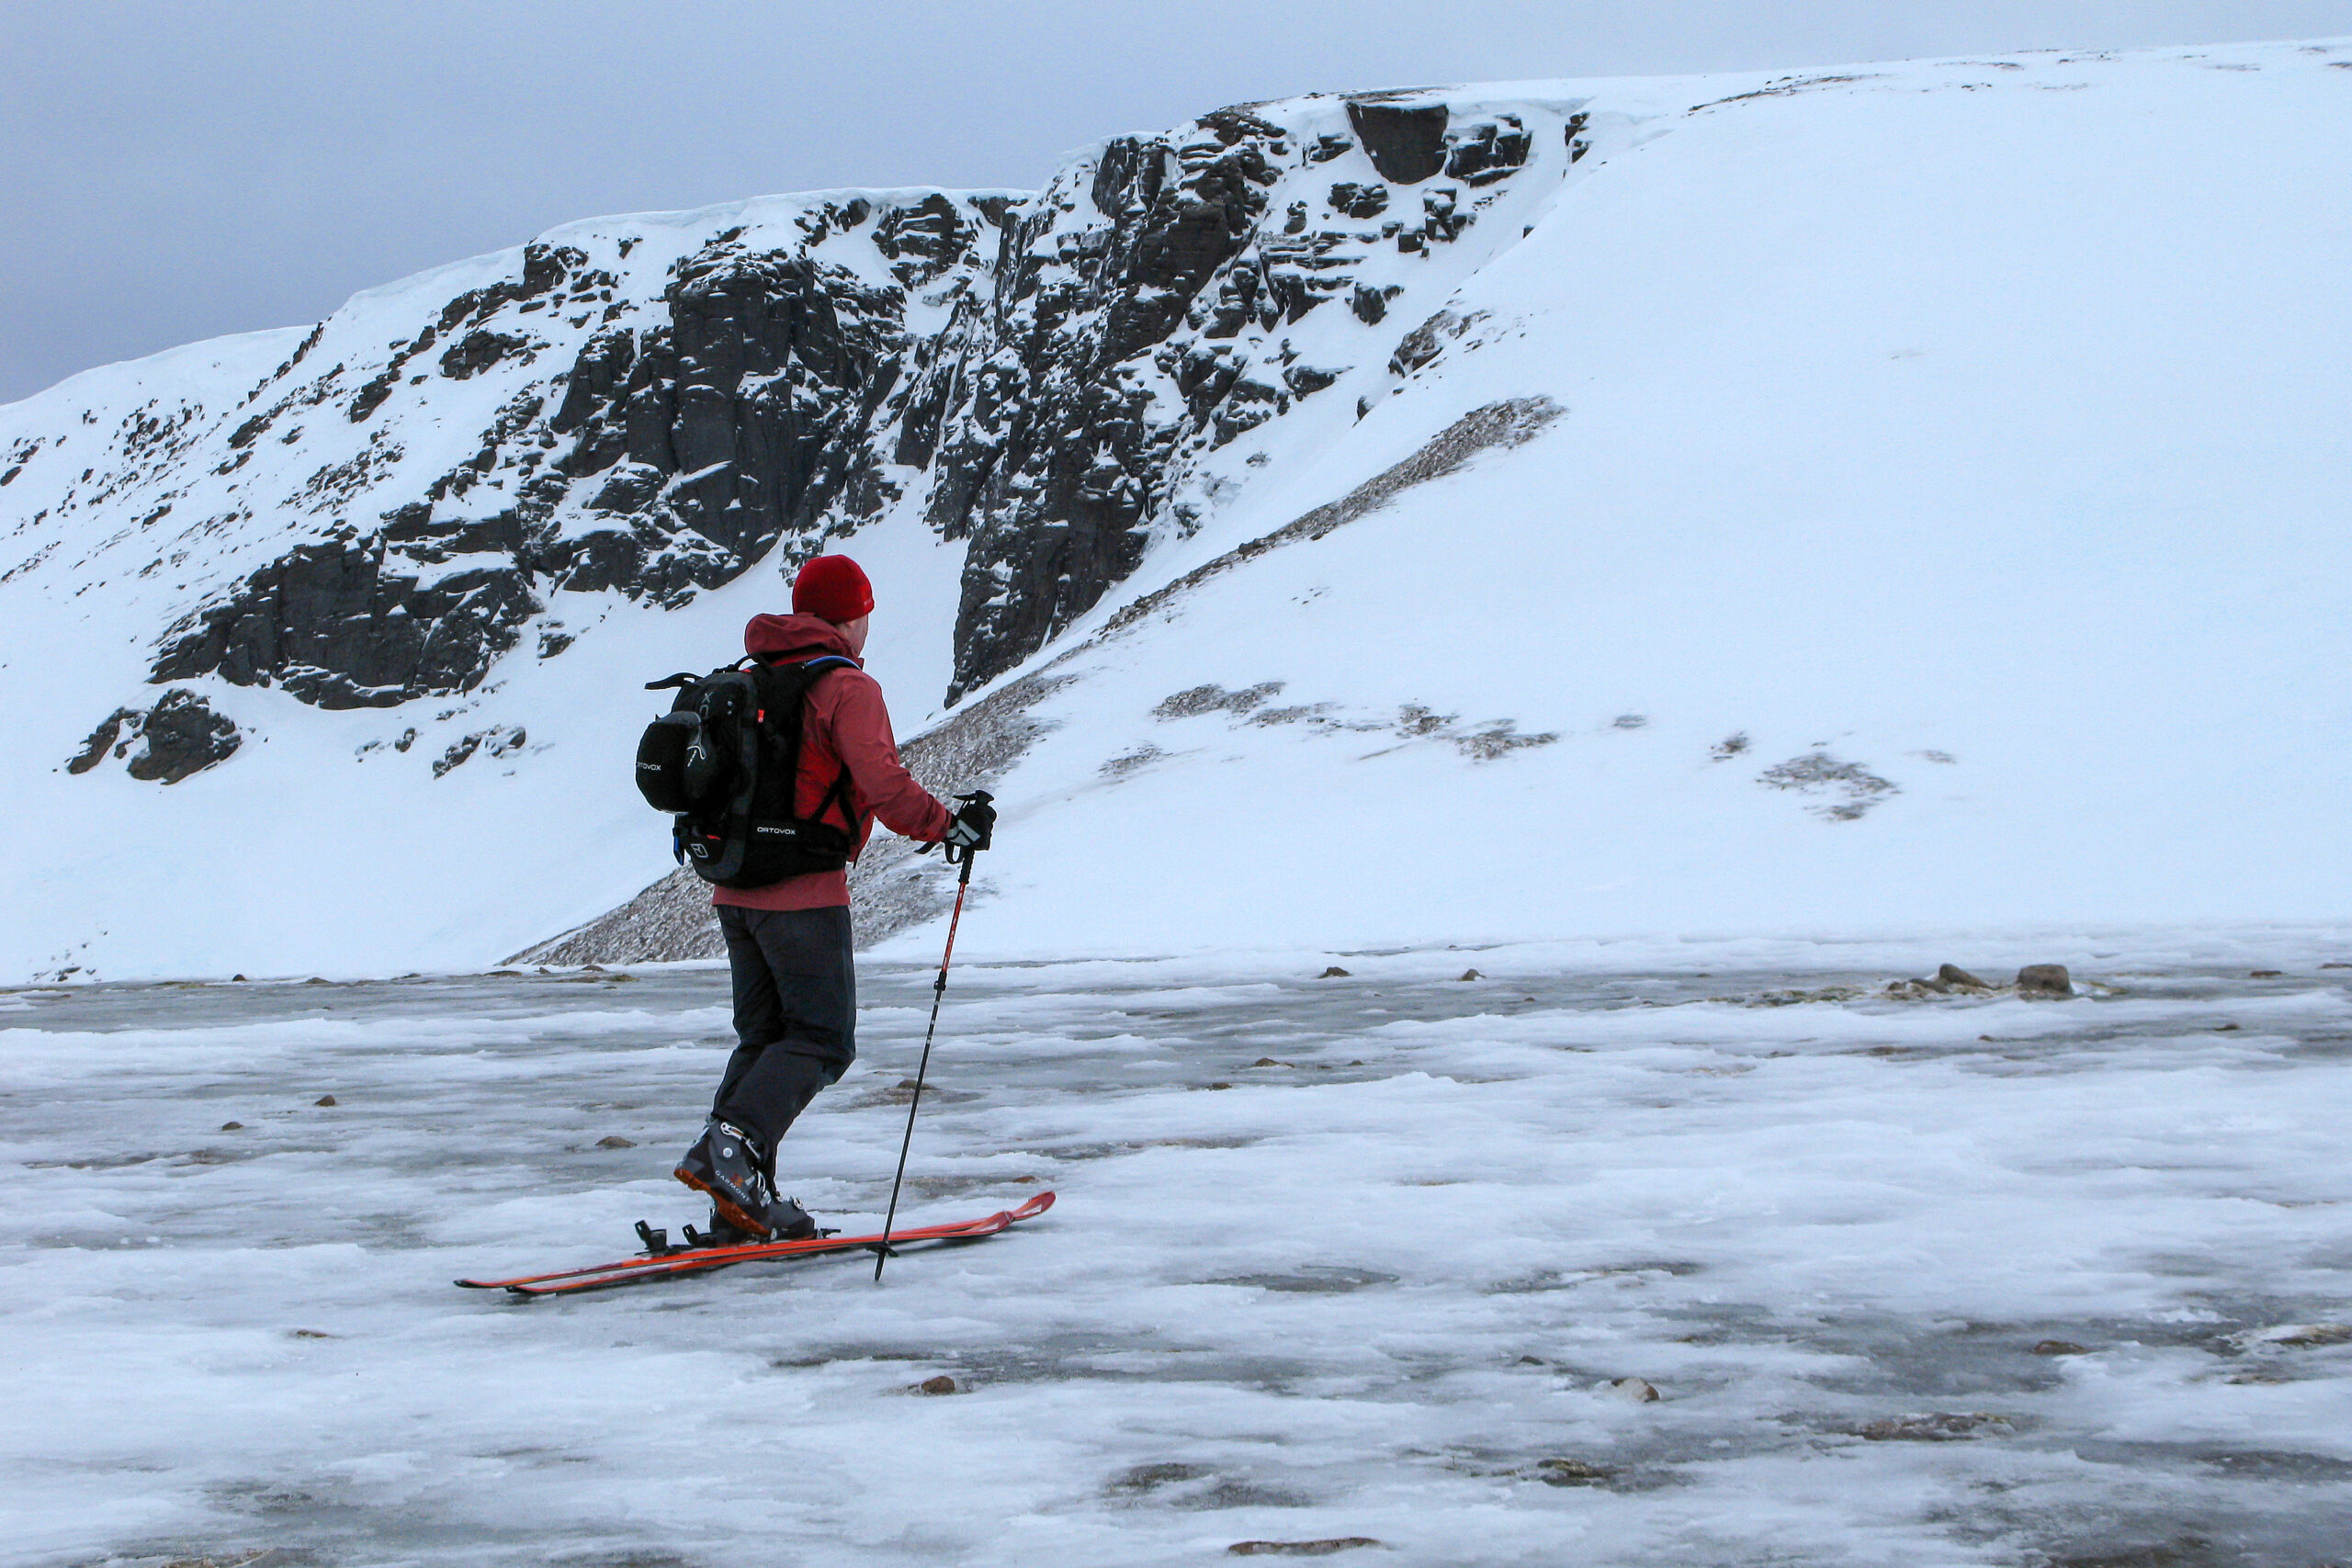
An easy angled slope but not carrying ski crampons meant having to turn back
Ice Axes and Backcountry Touring
Brendan Hughes
Training & Equipment officer
‘Will I need crampons?’ Is the one question that gets asked which excites more ill-informed debate and angst than any other among tourers heading to the Scottish backcountry.
Fortunately, the answer to this question is very simple: yes, you will need crampons.
The first golden rule of crampons: have them and carry them
Crampons are not just essential kit but just like skis, skins and boots are fundamental. Why are they fundamental? Because just like your skis, skins and boots, they are what keep you safely attached to an icy mountainside!
This lesson seems to be a hard one for skiers and boarders not familiar with Scottish conditions to digest. After all, they are rarely carried when doing lift-served off-piste skiing in the Alps and many a day of touring can be had in Scotland without needing them.
But where Scotland sadly lacks in producing champagne powder, the typical winter weather patterns of alternating mild and colder conditions excel at producing ice. And where there is ice, you need crampons. It’s a misconception that you only need them if heading to do some technical ski-mountaineering route, or a graded ice climb to need boot crampons.
As any experienced winter-walker or Munro-bagger knows, you very often need to don crampons to make it to the summit or cross a tricky slope and they also know that its very hard to predict when exactly you may need them. So stop trying to second-guess and just take them.
Boot crampons definitely required!
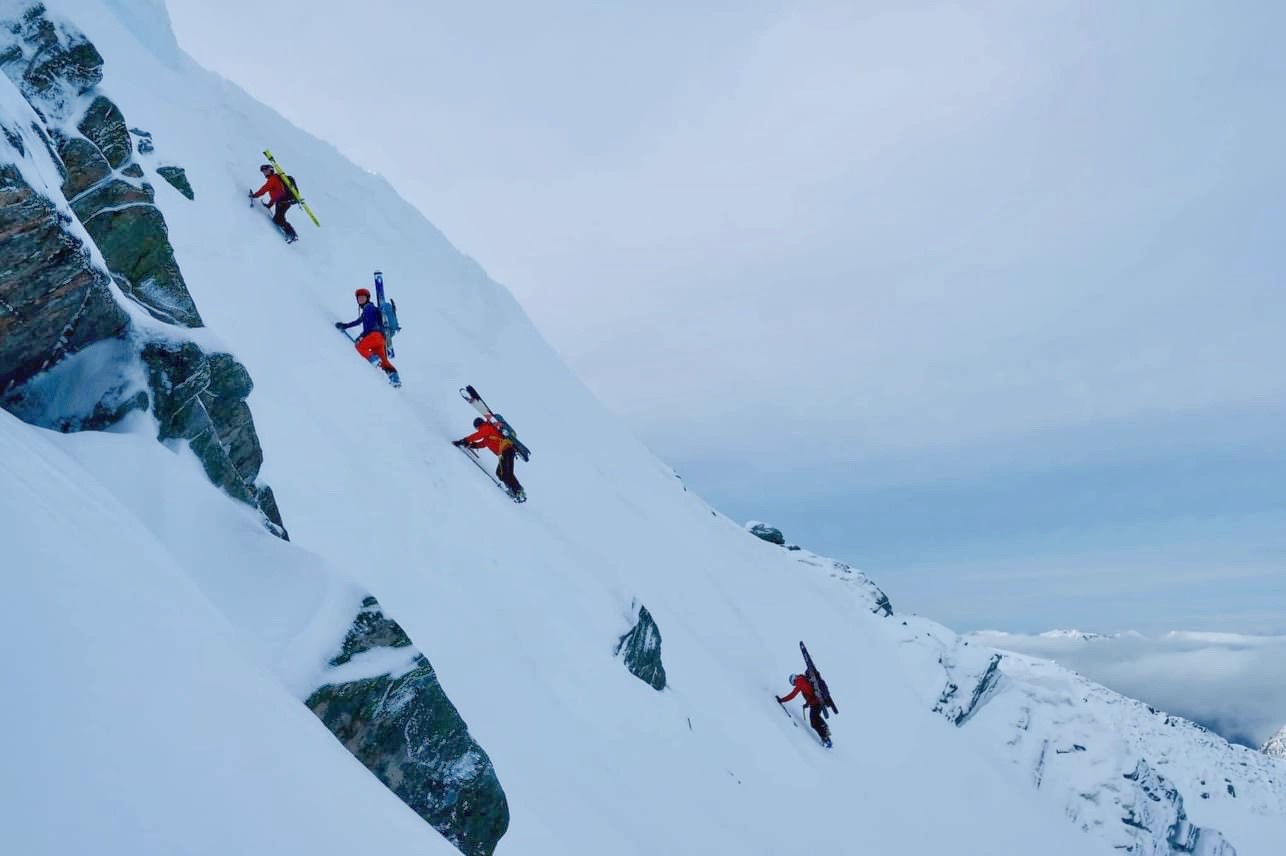
Ski Crampons vital during an icy traverse of the Northern Corries
For tourers the question is made a little more complicated because there are two types of crampons: ski crampons (aka ‘harscheisen’) and boot crampons (or just crampons to everyone else).
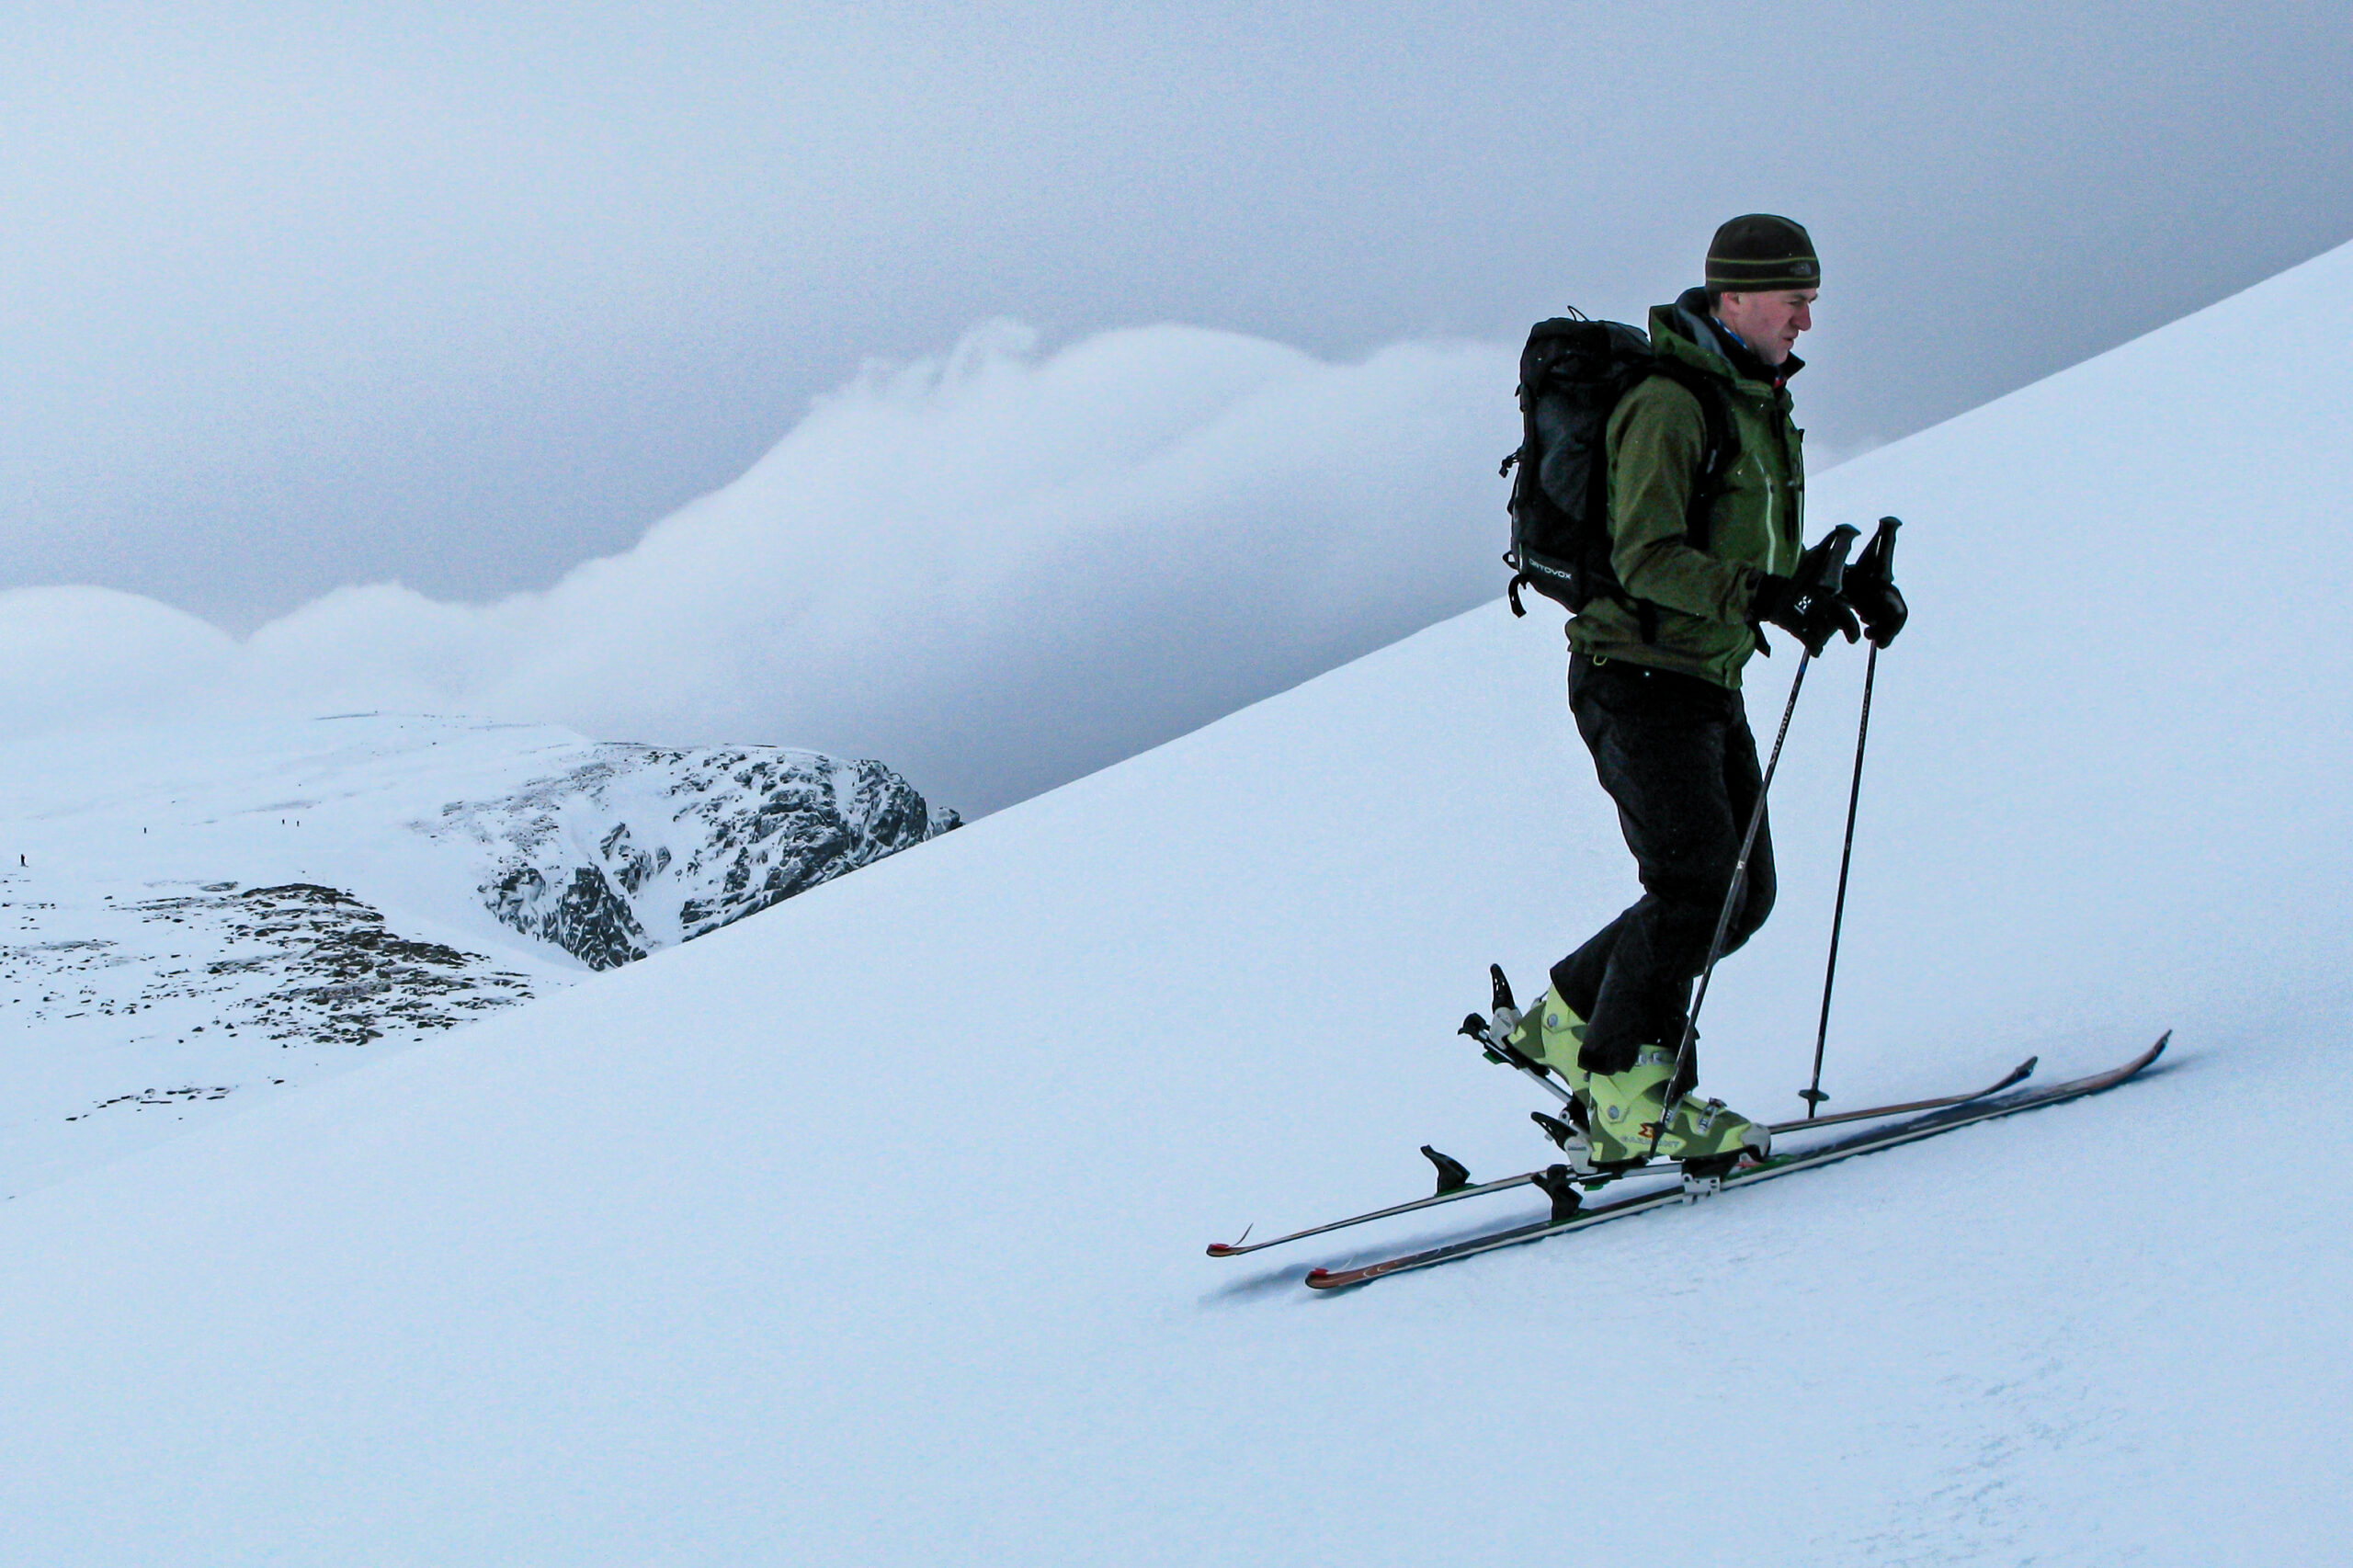
Ski crampons fit to your bindings and allow you to keep skinning when your skins start to lose traction on icy snow.
Boot crampons fit directly to the sole of your boot and have either 10 or 12 points, most of them facing down, with usually two of them facing forward.
So, are both necessary? Again, simple answer: yes. They do different jobs and one is not a replacement for the other. Whilst ski crampons will help get you skin on firmer snow or relatively soft ice, they have their limits and trying to negotiate really icy slopes relying just on ski crampons can be decidedly precarious. A good pair of well-fitted boot crampons, when used in conjunction with an ice-axe will, however, give you security to move on much harder surfaces like water-ice or glazed snow ice. In the Scottish mountains boot crampons are often the only way of making safe progress – usually at the most exposed parts of the route to the summit.
If you don’t carry them you may either not be able to complete your route, force the group to turn back or (far worse) make the error of trying to cross icy exposed slopes without them. If you crash and lose a ski, you may not be able to retrieve it safely. You might even find yourself stuck, unable to move up or down.
Every year there are fatalities and serious accidents in the Scottish mountains resulting from slips on icy ground: any slip on even the most gentle of icy slopes will, unless very quickly arrested with an ice axe, lead within seconds to a high-speed slide where any encounters with rocks or drops will deliver serious injuries or worse. This is a much more common source of serious accident in Scotland than avalanches;
Crampons are just as important, if not more important, than your transceiver shovel and probe

ski crampons

Boot crampons
What Crampons to get?
Ski crampons are specific to the type of binding you use and the width of the ski. You can’t mix-and-match. They can be difficult to source, so don’t expect to be able to pick up a pair in the local outdoor shop the day before a trip – order them at the time you get your set-up or well in advance. Learn how to fit them to your bindings in the comfort of home and practice getting them on and off.
Boot crampons are much more varied in design and choice, with different attachment systems, adjustments, materials etc. In the past they were heavy with awkward strap systems, but fortunately now there are many excellent light-weight designs available.
For backcountry touring purposes you basically have two choices:
- General-purpose pair of steel-alloy, 12-point, mountaineering crampons with a plastic or fabric loop at the toe (and possibly the heel). These will be very durable and can be used for winter-hillwalking, mountaineering and climbing also. The main downside is that they are usually heavier and bulkier.
- Specialist touring crampons made out of aluminium-alloy, usually with 10-points and a metal toe-bail at the front and a ‘step-in’ heel lever. In recent years some very light weight versions have come on the market such as Petzl Leopard that use ultra-strong Kevlar cord or wire to join the toe and heel pieces. Not only does this save weight, but allows the crampons to be folded in half-making them far less bulky to carry. The main downside is that they are more likely to break on rocky ground. There are now also hybrid designs that have a steel front section and an alloy heel that perhaps offer the best of both worlds (such as the Petzl Ivris Hybrid, which the club has 4 sets of)
What type you get will depend on your budget, your activities etc. If you just want one do-it-all pair and don’t object to the extra weight, then get general-purpose ones. But one of the main reasons even experienced folk fail to take crampons with them is the extra weight. If that sounds like it might be you, then get a light pair that you will actually take with you.
Whatever the design or material, the very best crampons in the world are the ones in you pack. The very worst are the ones sat at home or in your car.

Three types of boot crampon & stowage (L to R): 1) The Petzl Leopard (with ABP) light-weight touring crampon with a fleece Buff. 2) The Grivel Air-Tech steel-alloy mountaineering crampon with a nylon crampon bag. A great all-rounder. 3) The Black Diamond Neve Pro aluminium-alloy touring crampon with an crampon bag that can be attached to the outside of a rucksack. Note the Air Tech and Neve Pro both have screw adjusters on the heel to get a precise fit, but the Leopard does not.
Fitting crampons
This is only really an issue for boot crampons. Here the fit is really important – the crampon should fit neatly on the sole of the boot. There should be no gaps at the front between to base of the crampon and sole of the boot. The heel should not move around. To see more about fitting crampons, watch this video
The fact is that not all crampons will fit all boot shapes – some fit really badly, whereas others with fit like a glove, so when buying take your boot to the shop with you, or buy a range of models if buying on-line and return the ones that don’t fit well.
You will see reference to crampons having a rating such as ‘C1’ or ‘C3’. This refers to the how rigid the sole of the boot must be to take the crampons and boots are similarly given a rating from B0 (fully flexible e.g. trainers) through to B3 (fully rigid, e.g. touring boots!). The rule is that the crampon rating can equal or be less than the boot rating, but never exceed it. So a B1 boot would only be able to take a C1 crampon. However, a B3 boot can take any type of crampon. Indeed the Petzl Leopard – which has no rigidity of its own – is a ‘C3’ crampon, meaning it can only be fitted to a fully rigid B3 boot (it would soon fall off a B2), whereas most mountaineering crampons are rated C2 and can be worn on winter walking or alpine climbing boots that usually have some flex in the toe.
There are special considerations for both split-borders and telemarkers as their boots may either be too big for most crampon designs or need a more flexible C1 or C2 crampon for the telemark boot. Best to consult with a shop specialising in ski touring kit like Craigdon in Inverness, or Braemar/Cairngorm Mountain Sports.
Always fit and adjust crampons before heading out onto the hill. It is not a job to be done with cold hands at the top of an icy slope that is too steep to ski – this is particularly important if you have rented or borrowed a set.
How to carry them
For ski-crampons, get a little bag to carry them in as they are an awkward shape, but you can also fit your lunch or perhaps a pair of gloves or similar in-between them if in a bag. Another good tip is to get a small utility carabiner – you can then clip them to a gear loop or similar on your rucksack for immediate access – this makes a lot of sense on days when the snow pack is firm and you know you are going to be using them a lot.
For boot crampons, some rucksacks come with dedicated carrying pouches or you can get crampon bags that you can strap to the exterior of the rucksack. If carrying externally you need to be certain that there is no chance of the crampons slipping out and getting lost.
For touring though, you really want to get the crampons inside your pack and you will need something to protect your gear from the points – they are not down-jacket friendly. You can either get crown-protectors to cover the points, or a dedicated crampon bag. But personally I prefer to wrap mine in a fleece buff, which doubles as my emergency hat and saves a bit of weight. If your route means that their use is not expected, then they can go down the bottom of the pack. If its early season and there are sheets of water-ice in the car park, then probably best to pack them at or near the top – you may need to put them on just to get up the path.
When to put them on?
The 2nd golden rule of crampons: put them on before you really need them.
Choose a nice comfortable spot of flat ground if you can & don’t wait until you are half-way up to realise it’s a lot more icy than expected. Don’t think ‘I can’t be bothered’ instead ask yourself what would be consequences of a slip? Even low-angle slopes or iced up paths in the glen can be treacherous – a broken hip slipping on an icy footpath in Glasgow is bad enough. Its seriously life threatening in the Scottish backcountry.
If you have to put them on in a less than ideal location, or where the consequences of a slip, or dropped ski or crampon would be serious then you must do the transition with great care and deliberation. Stepping out of a ski onto an icy slope is a recipe for disaster, so use the adze of your ice axe to chop a shelf in the snow large enough to both your feet and your rucksack. Only then attempt to step out and begin the delicate process of getting crampons safely on your feet.
How to use them
Mountaineers have developed many techniques for the safe and efficient use of crampons and its beyond the scope of this article to say what they all are. As a tourer you don’t need to know all of them, but you do need to know and practice the essential techniques – it’s not natural to walk around with 2” spikes on the soles of your feet.
The 3rd golden rule of crampons: know how to use them.
If not, carelessness can lead you to snag points on rocks or your own clothing – you can reduce this by avoiding flared or baggy salopettes and look for straight leg ones. Gaiters – very useful to stop snow getting in the top of your boots – should be worn inside the salopette, (fortunately most salopettes now come with an sewn-in internal gaiter).
One of the best ways to learn how to use crampons safely is to book on a ‘winter skills’ course or go one of the club ones.
Balling-up. As well as snagging and tripping, the other common hazard with crampons is ‘balling up’. This is when wet warmer snow sticks to the cold metal of the crampon frame, a very dangerous build up is like wearing platform shoes
One way of countering this is to make sure your crampons are fitted with ‘anti-balling plates’ These are plastic or rubber inserts that help prevent the build-up. Most crampons come with them fitted as standard – but notably the Petzl Leopard do not and must be bought and fitted separately.
ABPs themselves are not a cure-all and a regular tap with the shaft of an ice axe often serves to clear the balled-up snow.
Ice Axe?
You might think that with crampons, you don’t really need an ice-axe. Wrong. The two are Siamese-twins and always go together and perform different jobs. If you need crampons, you need an ice axe. And if you think you need an ice-axe then you need crampons. Simple.
Conclusion
With modern light-weight crampons and the great availability of learning resources, there now is really no excuse not to have, carry and know how to use crampons. That way you can help avoid the very unwelcome thrill of skiing without skis.

